Information Systems Services
Eduroam - Manual Install for MacOS 10.5 | Information Systems & Services
Create an eduroam profile in MacOS 10.5
N.B. if you have difficulty seeing the detail in any of the images then right click and select view image.
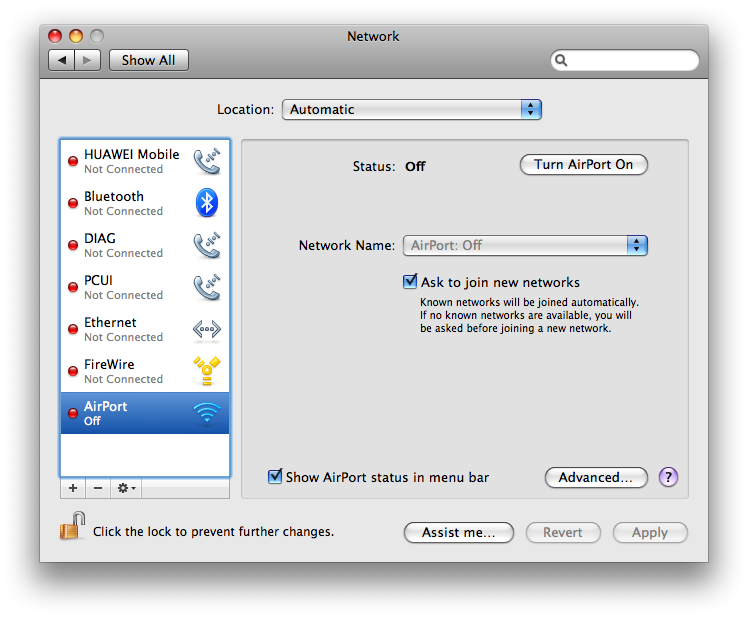
- Click on the wireless icon
 (in the menu bar at the top of the screen).
 - Select Open Network Preferences....
- Select Airport and click Advanced...
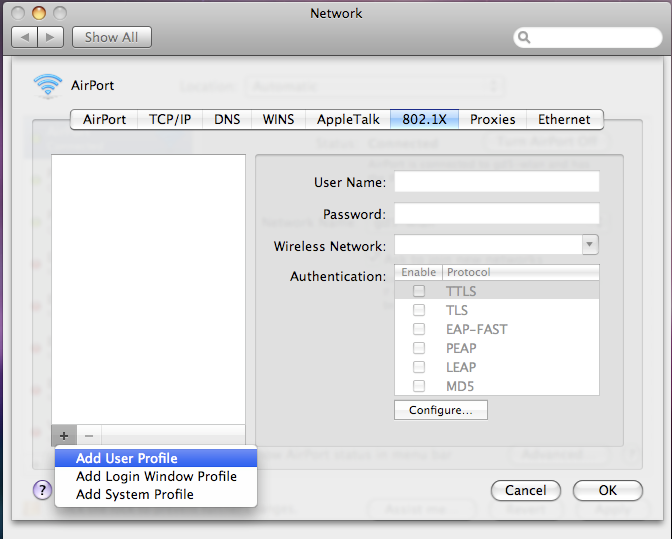
- Click on the 802.1X tab then click on + and select Add User Profile.
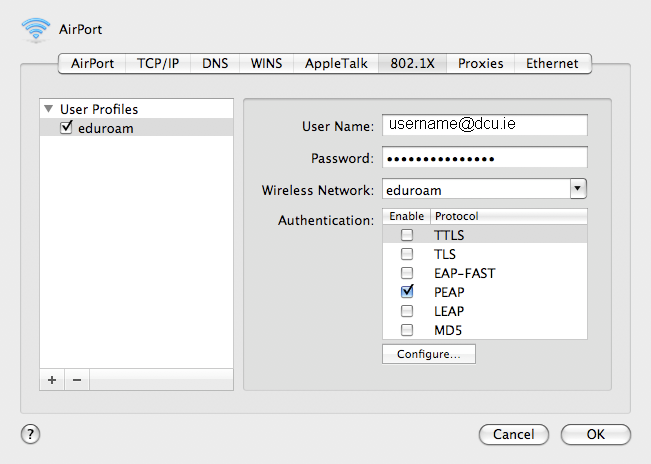
- Enter the details as per the diagram below.
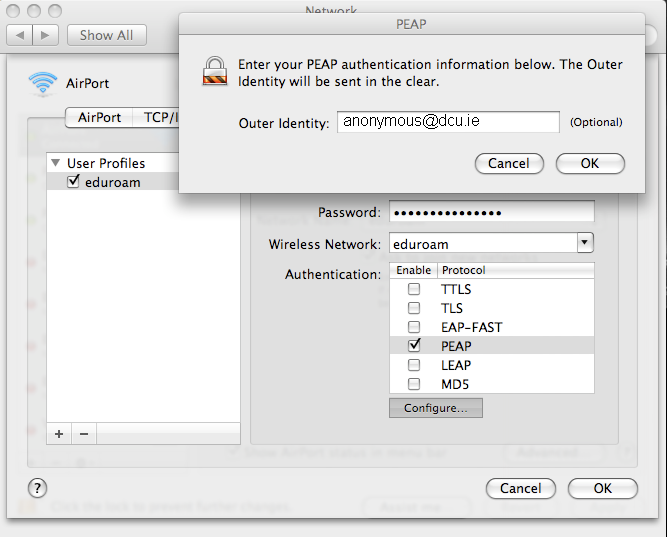
- Select PEAP and click Configure.... then enter anonymous@dcu.ie
- Click OK
- Click OK at the new profile window.
- Click Apply in the Network window.
- Highlight Airport and click Advanced... once more
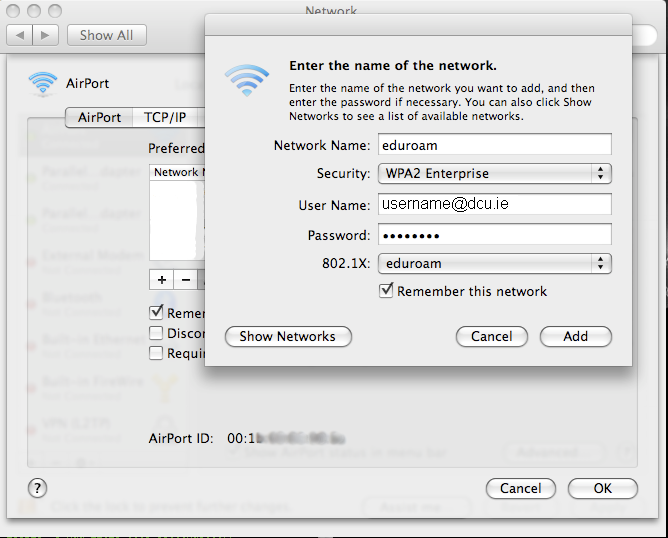
Click on + to add eduroam as a preferred network. - Click Add.
- You can make eduroam your preferred network by dragging the eduroam entry to the top of the list of preferred networks.
- Click OK.
- Click Apply.
N.B. You must enter your DCU Novell/AD network username and password in the form of : username@dcu.ie e.g. bloggsj22@dcu.ie
The password is NOT your e-mail password it is your network password used for such systems as Portal pages, Moodle, Novell, AD etc.

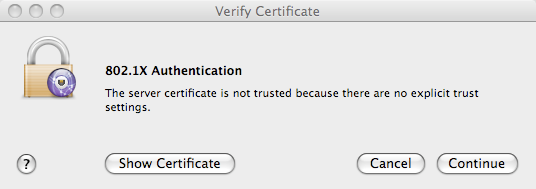
Your wireless client is now configured to avail of eduroam and should connect automatically when at a site where the eduroam service is available. When you use your new eduroam profile for the first time you will be required to verify the details of the authentication server you are talking to, as follows:
- A "Verify Certificate" pop-up window will display on your screen.
Click Continue.